
Are you ready to embark on a journey to become a master of house framing? Whether you’re a budding DIY enthusiast or a seasoned carpenter, this step-by-step guide in plain English will take you through the fundamentals of house framing techniques. We’ll break down the process into easy-to-understand sections that even a primary school student can grasp. So, let’s grab our tools and get started on this exciting construction adventure!
Understanding House Framing
Before we dive into the techniques, let’s get acquainted with the basics of house framing.
What is House Framing?
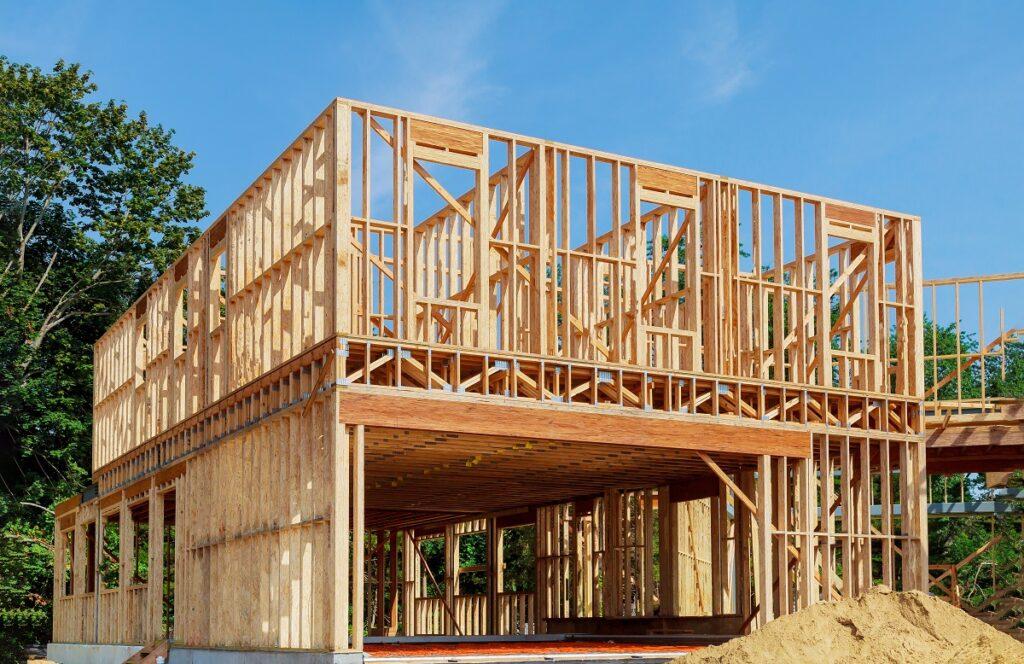
House framing is the structural skeleton of a building. It provides support, shape, and strength to the entire structure. In essence, it’s the backbone of any house.
Tools of the Trade
1. Measuring and Marking
- Tape Measure
- Framing Square
- Chalk Line
2. Cutting
- Circular Saw
- Miter Saw
- Hand Saw
3. Fastening
- Nails
- Screws
- Nail Gun
4. Safety Gear
- Safety Glasses
- Ear Protection
- Gloves
Step 1: Creating the Foundation
Layout and Marking
The first step is to lay out the dimensions of your house frame on the foundation. Use your tape measure, framing square, and chalk line to mark the positions accurately.
Setting the Sill Plates
Attach treated lumber sill plates to the foundation. These will act as the base for your frame.
Step 2: Building the Walls
Assembling Wall Components
Build the wall components on a flat surface. Lay out the bottom plate, studs, and top plate, ensuring they are square and level.
Erecting the Walls
With the components ready, it’s time to raise the walls. Have a helper assist you in positioning and securing the walls in place.
Step 3: Roof Framing
Roof Trusses
Install roof trusses or rafters to create the roof structure. Ensure they are evenly spaced and properly braced.
Roof Sheathing
Cover the roof structure with sheathing to provide a solid surface for roofing materials.
Step 4: Framing Windows and Doors
Window and Door Openings
Carefully measure and frame openings for windows and doors, ensuring they are square and level.
Installing Windows and Doors
Once the openings are ready, install windows and doors using the appropriate hardware.
Step 5: Bracing and Sheathing
Structural Bracing
Add diagonal bracing to provide stability to the frame, especially in areas prone to strong winds or seismic activity.
Wall Sheathing
Cover the exterior walls with sheathing to protect against the elements.
Step 6: Insulation and Wiring
Insulating the Walls
Install insulation in the wall cavities to make your home energy-efficient.
Electrical Wiring
Run electrical wiring through the framed walls to ensure your home is well-lit and functional.
Step 7: Exterior and Interior Finishes
Exterior Siding
Apply the chosen exterior siding material to protect your home’s frame from the elements and give it a finished look.
Interior Walls
Finish the interior by hanging drywall or other wall coverings.
Step 8: Final Inspections
Before considering your house frame complete, make sure to schedule inspections to ensure it meets all safety and building code requirements.
Step 9: Celebrate Your Achievement
Congratulations! You’ve successfully mastered the art of house framing. Your hard work and dedication have paid off, and you now have the frame of your dream home ready for further construction.